How to Flush a Water Heater
Flushing your water heater once a year helps clear out sediment that causes noise, higher bills, and early failure. This guide explains when and how to do it safely, the tools you’ll need, common mistakes to avoid, and when it’s best to call a licensed plumber for help.
Tools & Equipment
- 1 Adjustable wrench or pliers
- 1 Gloves and safety glasses
- 2 Towels (for small drips or spills)
- 1 Wet/dry vacuum
Parts & Supplies
- 1 Garden Hose est. $20
- 1 Bucket est. $5
Instructions
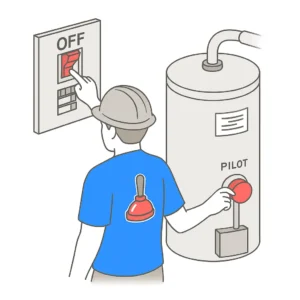
- Step 1: Turn off power or gasElectric heater: Switch off the breaker in your electrical panel.Gas heater: Turn the gas control knob to Pilot.Double-check by running hot water from a tap — it should stop heating.
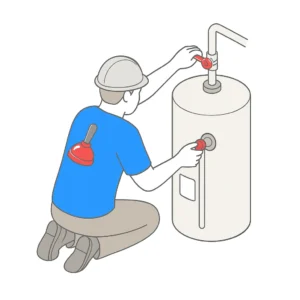
- Step 2: Shut off cold-water supplyLocate the cold-water shutoff valve at the top of the heater and turn it clockwise.This prevents more water from entering while you drain.
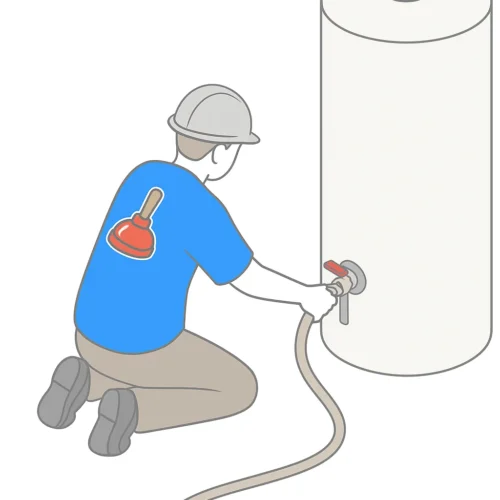
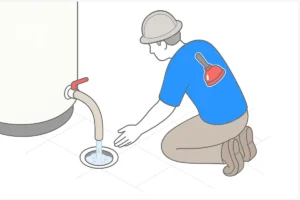
- Step 3: Connect a garden hoseAttach one end of the hose to the drain valve near the bottom of the tank.Run the other end to a floor drain, laundry tub, or outside.Tip: Keep the hose outlet lower than the tank for a steady drain.
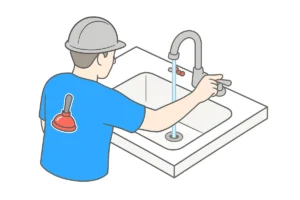
- Step 4: Open a hot-water tapTurn on a hot tap in a nearby sink or tub.This prevents a vacuum inside the tank and helps it drain faster.
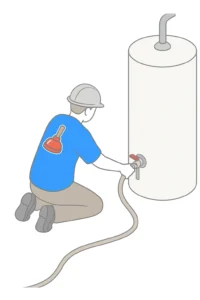
- Step 5: Drain the tankCarefully open the drain valve. Water will flow out hot, so use caution.At first the water may be cloudy, rusty, or contain flakes of sediment.Let it run until the water comes out clear. This can take 15–30 minutes.STOP point: If no water comes out, the drain valve may be clogged with sediment. Do not force it — this is the time to call a plumber.
- Step 6: Flush with cold water (optional)Once mostly drained, briefly reopen the cold-water supply to stir up remaining sediment, then drain again.Repeat until water is consistently clear.
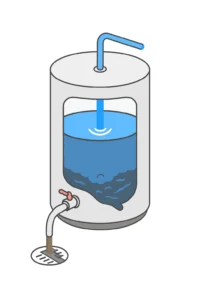
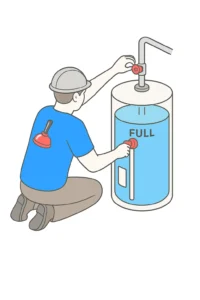
- Step 7: Refill and restartClose the drain valve tightly and remove the hose.Turn the cold-water supply back on to refill the tank.Once the tank is full and air is bled from open taps, restore power (electric) or set gas control back to On. Make sure to inspect the water heater for proper operation. Do Not turn the power or gas back on to a tank that is not full!
Notes
Make sure to check the water heater is operating properly after you have completed the flushing.
💡 Noise prevention: Regular flushing prevents the “popping” noise many homeowners mistake for a failing heater.
💡 Extend lifespan: Tanks that are flushed yearly can last several years longer than neglected ones.
💡 Plan seasonally: Spring or fall is the best time in Metro Vancouver, before peak demand in summer or winter.
Pro Tips
💡 Energy savings: Flushing yearly can save up to 10% on energy bills.💡 Noise prevention: Regular flushing prevents the “popping” noise many homeowners mistake for a failing heater.
💡 Extend lifespan: Tanks that are flushed yearly can last several years longer than neglected ones.
💡 Plan seasonally: Spring or fall is the best time in Metro Vancouver, before peak demand in summer or winter.
