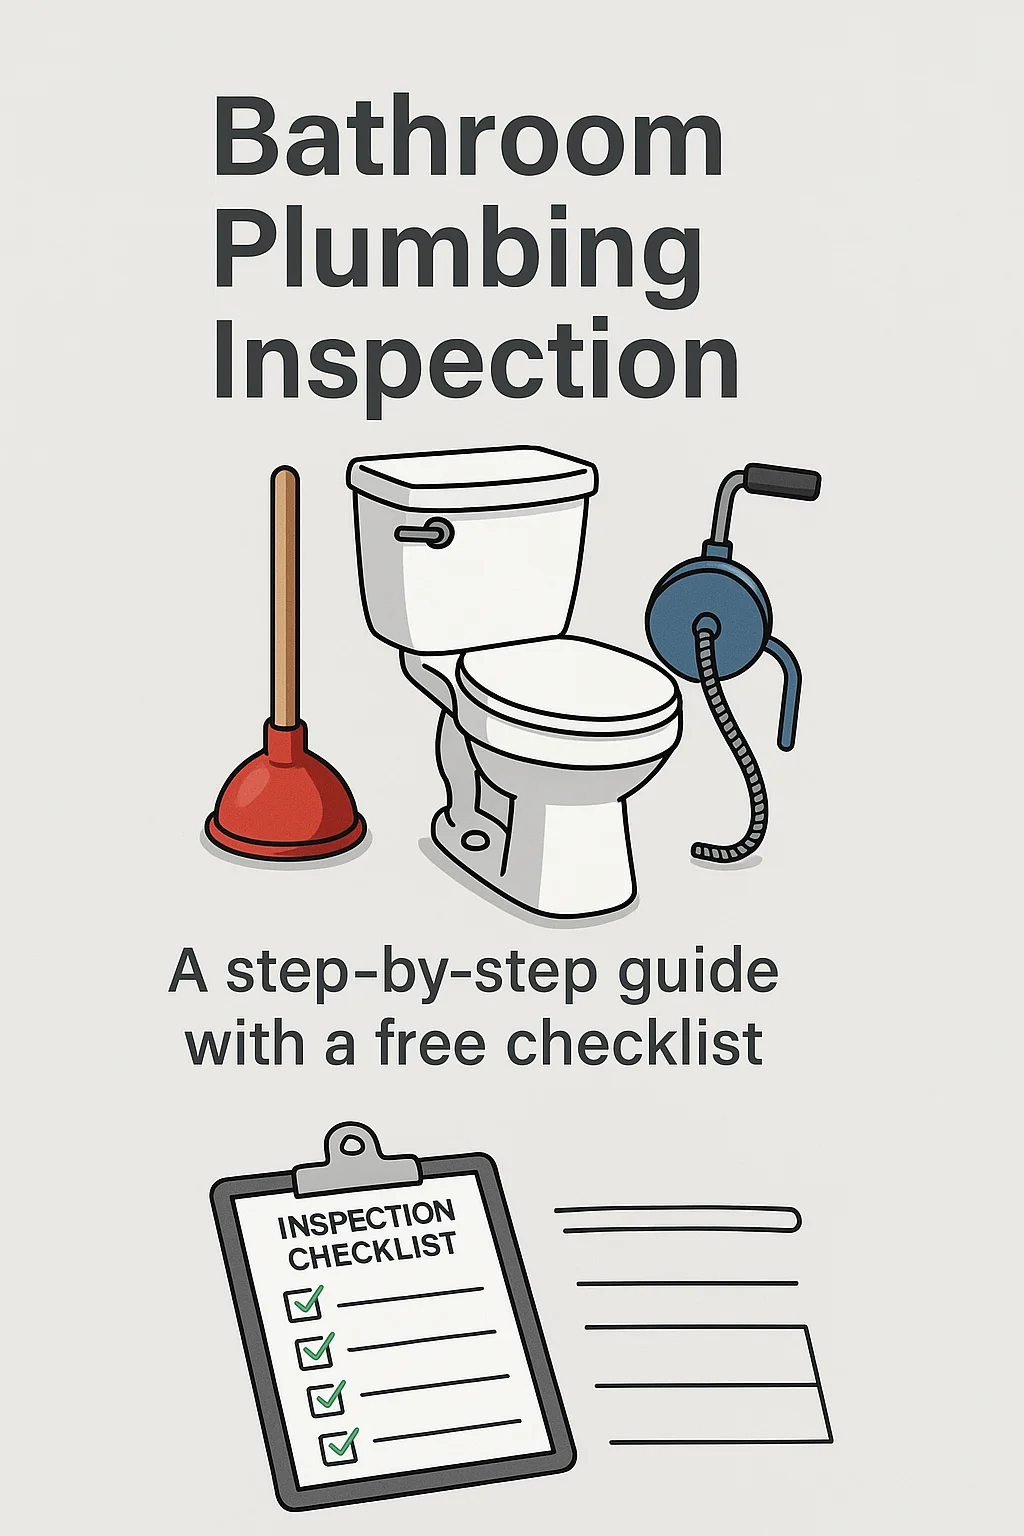
Why Bathroom Plumbing Inspections Matter
Bathrooms use more water than any other part of your home. A leaking toilet flapper, a clogged drain, or a faulty shutoff valve may not seem urgent at first, but left unchecked they can cause water damage, mold, or high utility bills.
By taking 15–20 minutes once or twice a year to inspect your bathroom plumbing, you can:
- Identify leaks early.
- Extend the life of fixtures.
- Keep water pressure and flow balanced.
- Avoid unexpected repair bills.
- Ensure safety with proper ventilation and GFCI outlets.
Think of it like routine maintenance for your car: a little time invested now prevents bigger costs later.
Download PDF Bathroom Inspection Checklist
Step-by-Step Bathroom Plumbing Inspection
Tools & Equipment
- 1 Bathroom Inspection Checklist
- 1 Screwdriver
- 1 Flashlight
Parts & Supplies
- 1 Towel
Instructions
- Toilet InspectionToilets can waste hundreds of gallons if they run constantly.Checklist items:Flush test: Does the toilet flush completely in a single flush?Base inspection: Look for leaks or staining around the base. Soft flooring nearby is a red flag.Tank parts: Lift the lid and check that the flapper, chain, and fill valve are intact and moving freely.Handle operation: A loose or sticky handle may signal wear.Shutoff valve: Twist gently; it should turn without sticking.Noise test: Listen after flushing — water should stop running within 30–60 seconds.Pro tip: Put a few drops of food coloring in the tank and wait 10 minutes without flushing. If the bowl water changes color, your flapper is leaking.
- Sink InspectionSinks take daily abuse and can leak silently inside cabinets.Checklist items:Faucet function: Run hot and cold; check for drips.Aerator: Unscrew and inspect for sediment buildup.Drain test: Water should clear quickly without gurgling.Cabinet interior: Use a flashlight to check for moisture, mold, or warped wood.Supply lines: Look for bulges, rust, or cracks. Flexible braided steel is safer than old plastic lines.
- Shower & Tub InspectionShowers and tubs use the most water in a bathroom.Checklist items:Flow & pressure: Turn on both hot and cold. Flow should be steady and temperature consistent.Showerhead: Spray pattern should be even. Mineral deposits can block jets.Caulking & grout: Gaps can let water seep behind tiles.Drain: Water should clear within a minute — no standing puddles.Stopper: Check that it seals tightly and lifts easily.Diverter spout: If you have a tub/shower combo, make sure it redirects water fully to the showerhead.
- General Bathroom AreaEven outside fixtures, plumbing can leave clues in walls and floors.Checklist items:Moisture check: Inspect walls, ceilings, and floors near the bathroom for stains, bubbling paint, or soft spots.Ventilation: Run the exhaust fan; hold a tissue against it — it should stick if the fan works.Mold & mildew: Look at corners and grout lines.Flooring: Ensure tiles or vinyl aren’t lifting, which may indicate leaks underneath.Sealants: Joints where tile meets tub or floor should be caulked.
- Safety & ElectricalWater and electricity don’t mix — safety checks are critical.Checklist items:GFCI outlets: Press “Test” and then “Reset.” If they don’t trip and reset, replace them.Lighting: Remove covers and check for condensation or corrosion.
Notes
- Store completed checklists
- Keep each inspection PDF or printed sheet in a dedicated home maintenance binder or digital folder.
- Label with the inspection date, who completed it, and any notes.
- Take photos when issues are found
- Snap a quick picture of leaks, water stains, or corrosion.
- Attach photos to the saved checklist. This creates a timeline of the problem if it worsens.
- Track repair receipts
- Staple or digitally link plumber invoices to the inspection record.
- This shows not just the issue, but proof that it was resolved.
- Why this matters for insurance
- Insurers often look more favorably on proactive homeowners.
- Demonstrating regular inspections can help with claims by showing you took preventive steps.
- For big losses (like water damage), being able to hand over dated checklists + photos + receipts makes you look responsible and can speed up claims.
- Set reminders
- Aim for twice a year — one inspection in spring, one in fall.
- Use calendar reminders so inspections don’t get forgotten.
Recording Results: Good / Needs Repair / N/A
To make inspections clear and consistent, use a simple decision matrix:
- ✅ Good — Working properly, no issues.
- ⚠️ Needs Repair — Problem spotted that should be fixed.
- ☐ N/A — Not applicable (for example, no tub stopper if you only have a shower).
We’ve made this easy by designing a free downloadable checklist with fillable fields and checkboxes. You can complete it on your computer or tablet, or print and use it on paper.
👉 Download the Bathroom Plumbing Inspection Checklist (PDF)
When to Call a Plumber
Inspections help you spot problems — but some require a professional. Call a plumber if you find:
- Persistent leaks, water stains, or soft flooring.
- Mold growth that returns after cleaning.
- Drains that remain slow even after clearing.
- Shutoff valves that won’t turn.
- Any electrical issues around outlets or lights.
For urgent service in Metro Vancouver, you can Book on unclogit.com — usually available 24/7.
Final Thoughts
Overall, a bathroom inspection takes about 20 minutes and can prevent thousands of dollars in water damage. Use this article as your step-by-step guide, and use our checklist to track your results. If you find issues, don’t wait — address them early, and when in doubt, call a licensed plumber.
Regular maintenance gives you peace of mind and keeps your home’s most-used room safe, efficient, and reliable.